Mosaic Tech Talk
Here’s a little peek at some tools and studio features that I’ve recently found essential:
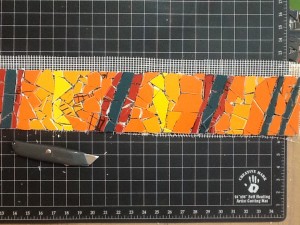
- I use this “self-healing” mat for cutting the fiberglass mesh at the edge of the tile tesserae when I have finished a panel.
As you can see, my utility knife is what I use to cut the mesh. The technique of adhering the mosaic design to sections of mesh, then adhering the whole group of sections onto its final substrate or location allows me to create in my studio.
So, how does the tile get cut into those tesserae?
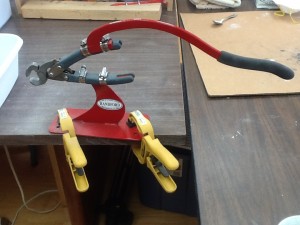
Various tile nippers make some of the cuts. I don’t know what this device is called that gives me a mechanical advantage, but I call it a nipper buddy.
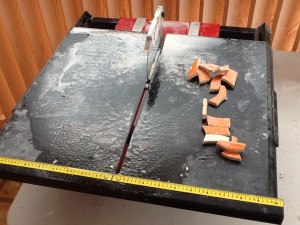
Here’s my favorite:
Saves my hands from tendonitis, as does the nipper buddy, but this ring saw saves tile, too, by making each cut precise.
Would you like to see my view?
Back to my tools in the studio:
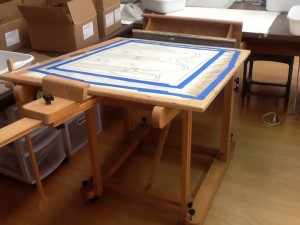
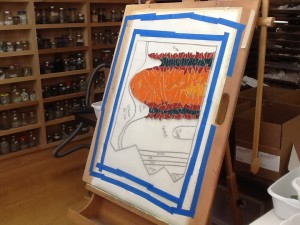
My painting easel turns into a mosaic easel. I tape my design to a heavy board which rests on the easel. Next, I tape clear plastic over the design. Then, I tape fiberglass mesh over the plastic, and now I am ready to adhere the tile tesserae over the design.
This is how I use my easel when I’m adhering the tesserae. I only lay the mosaic flat when I am leaving the mortar to cure for awhile. I don’t want the tesserae to slide downward.
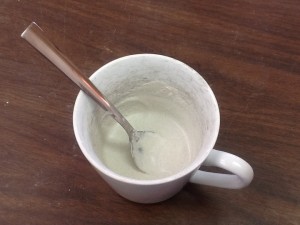
Here is how I mix my mortar (it is about the consistency of peanut butter.):
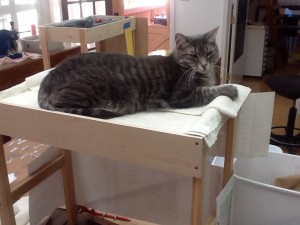
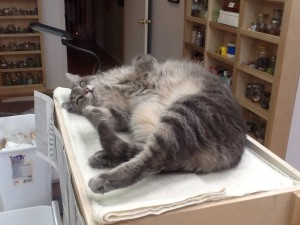
Here is my supervisor:
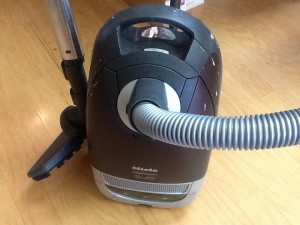
And what would I do without my Miele Capricorn vacuum cleaner?!?!? It has a sealed dust collection bag inside a sealed chamber, so no particulates escape its clutches. Very important when I’m vacuuming glass, mortar, and tile dust which are unhealthy to breathe.
Notice the unfocused gaze and the lolling activity atop the tower. This only slows me down a little as she goes into petting position as I pass by.

