A Recipe for Mosaic Packing
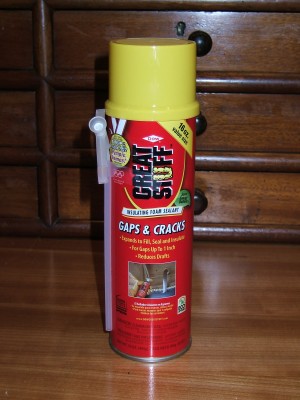
 Go visit your favorite home-improvement store and buy a couple of cans of spray foam insulation.
Do you have a sturdy shipping carton? Oh, well then, you need to beg, borrow, or buy one.
Next, wrap your pointy, pokey, delicate mosaic in layers of kitchen plastic wrap. Make the wrap firm enough so that external pressure does not deform the wrap into cracks and crannies, but gentle enough so that its pressure does not break delicate tesserae.
Draw a line on your carton interior to mark how far up the sides you want the carton filled with the first foam layer.
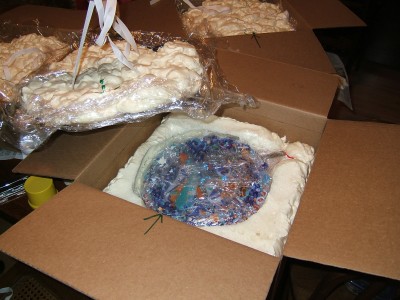
Spray foam into the carton as evenly as possible, keeping in mind that it doubles in volume as it cures. After a few minutes, carefully place your mosaic mummy on top of the foam. Experience will tell you how long to wait between spraying foam and the laying of the mosaic. Don’t wait long enough, and the foam will expand over the top edge of the mosaic as it blossoms. Not helpful at the other end when someone else is unpacking your masterpiece! Wait too long and the foam will not adequately conform to the underside of your mosaic so that the art stays in place during travel.
About 8 hours later, check your project and trim off any foam that has intruded inside the plastic wrap, or that has wrapped itself over the top of your art piece.
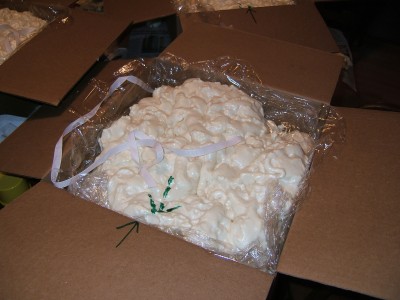
Lay more kitchen plastic wrap to cover your art, the hardened foam, and the remaining height of carton. This is an important separation layer to prevent new foam from sticking to the old or from sticking to the box itself.
Create some sort of handle that will be imbedded in the next expanding layer of foam. We attached grosgrain ribbon to a length of wood strip and laid it on top of the kitchen wrap separation layer, making sure the ribbon extended to the box edges and over the sides.
Spray in more foam on top of the plastic wrap, keeping in mind the foam’s tendency to double in size as it cures. Make the top of the foam as flat as you can.
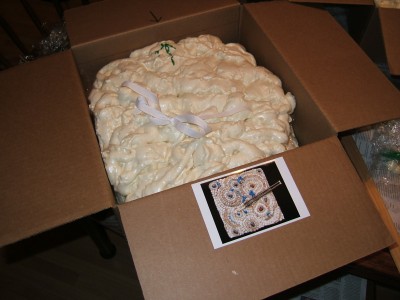
After allowing the second layer of foam to cure 8 hours or so, tie the ribbon ends together and use this handle to lift the “lid” of foam off, revealing the covered mosaic below. Before sealing the carton, fill any remaining space at the top of the carton with sheet styrofoam.
If the shipping carton is to be re-used at the other end of the line to carry the mosaic, make an arrow on the inside flap of the box that correlates with an arrow on the top foam layer and another arrow on the bottom foam layer. This makes it easy for the uninitiated person at the other end to line up the arrows and re-pack the mosaic correctly. (We also left a little diagram of a prominent element of the mosaic and its relation to the bed of sprayed-in foam.) If the carton is to be in storage for some time, it helps to adhere a photograph of your art piece onto the carton so that it will be easy to match the two again, even by a complete stranger to the whole process.
Word from Pam Goode of Ciel Gallery in Charlotte, North Carolina, is that The Food Desert arrived safely for the ‘Articulate’ show.
Where did I pick up the idea for using spray foam to conform to a delicate object being shipped? Oh, years ago, when our youngest daughter was ready for her full-sized pedal harp, we ordered one from Lyon and Healy in Chicago. Months later, it arrived in an enormous carton packed in a crate. What filled all the space in the carton that was NOT harp? Why, dense spray-in foam, of course.


